Welcome to Month Two of our Backyard Gardening series for 2023!
Indoor Seed Starting
If you missed the official launch, it isn’t too late. You can access the seed selection article by subscribing to our monthly newsletter, The Nucleus, and reviewing the January edition or by reading our gardening blog post from January.
Playing catch up? Be sure to pick up your seeds first so you know if they have any special planting requirements before buying planting mix or other soil.
Secrets of the Planting Universe
Seed packets contain all the vital facts you need to know for successful cultivation. Look at your packets to determine:
- Zone hardiness
- Correct planting time
- Indoor seed starting
- Planting depth
- Plant spacing
- Thinning (also known as seedling murder in some circles)
- Days to germination
Seed packets for temperature-sensitive varieties may say something like: Start seeds indoors 4-6 weeks before final frost date. To determine your final frost date (which is just an estimate and not 100% guaranteed), first find your USDA hardiness zone. Then, subtract 4-6 weeks from that date and mark your calendar to get planting.
The earlier you start seeds indoors, the bigger the plants will be before transplanting. However, that means the longer you must manage the seed starts, keep light-moisture-warmth balanced for them, and quite possibly transplant them into larger containers indoors. Before committing to the longer time period, make sure you’re up to the task so your plant babies don’t languish on a shelf or perish before transplanting outdoors.
Types of Soil
There are a number of options at stores and online for soil. Depending on the size of your seeds and the recommended planting depth, some types of soil make much better options for seed starting. When planting large seeds that germinate easily, such as beans, you can pretty much press them into any moist dirt and they will find their way to become hardy seedlings. On the other hand, tiny seeds with fragile stems won’t be able to maneuver around large particles or clumps and require much finer seed starting mixes to maximize success.
Here are some of the soil labels you may see:
- Seed starting mix
- Potting soil
- Garden soil
- Seed starter pellets
- Peat
- Coir
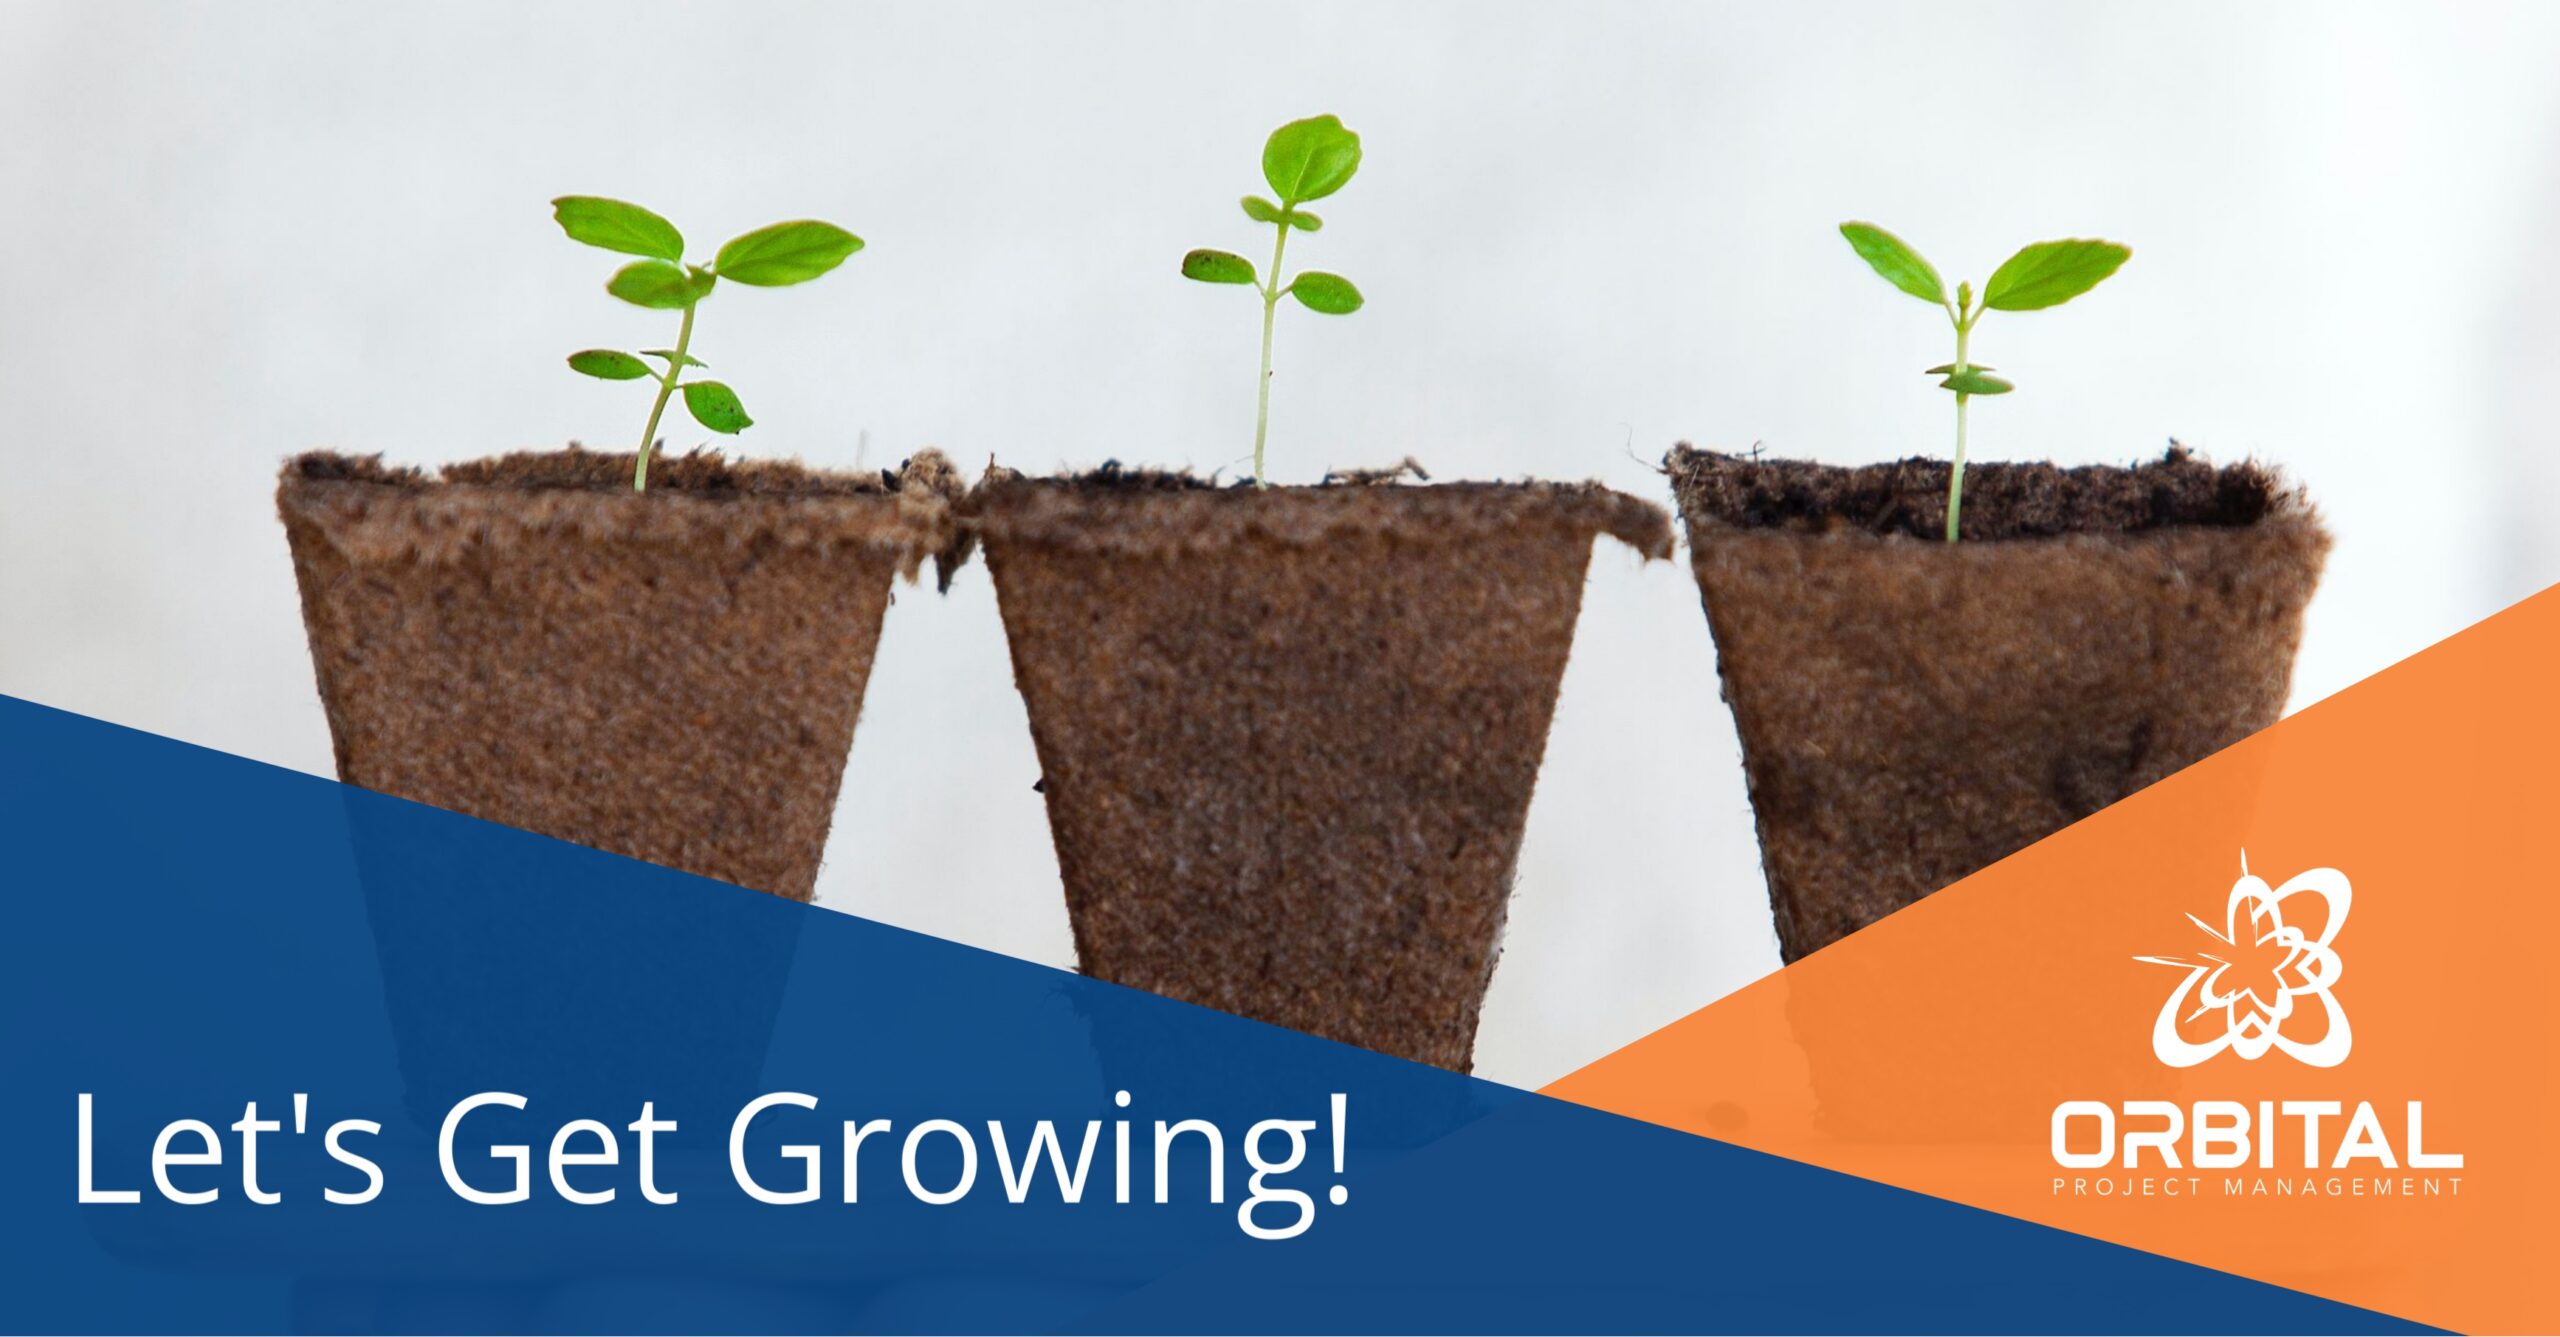
Most seeds require even moisture, which comes in spades in properly-hydrated seed starter pellets. You know the ones that come in their own plastic “greenhouse” with a lid. However, fragile-stemmed plants can sometimes be difficult to break free from the dense peat “soil” when it comes time to transplant.
I know, I know… The package says you can just plop the entire pod into the garden and let it go, but some plants’ roots aren’t strong enough to break through and they become stunted or perish from not reaching soil nutrients over time. Beans, melons, cucumbers, pumpkins, and squash make really tough little seedlings. If you want a simple start this year, these species do great in the pods and transplant easily. You’ll see their roots busting through the sides of the pods like the Hulk through his civilian clothes.
For smaller seeds like tomatoes, cruciferous veggies, and peppers, which may need to be started indoors according to your zone, err on the side of using finer-textured seed starting mix in small containers.
Container Options
There are only a couple requirements when it comes to seed starting containers.
- Ensure there is good drainage, which can be made by poking holes in the bottom.
- Use containers made from food-safe materials.
Note: Certain plastics, metals, and coated ceramics that are labeled “not for food use” may contain toxins that can leach into plants).
One safe bet is containers from store-bought foods and beverages. Cut a milk jug or juice container in half and poke several small holes in the bottom. Reuse lettuce, kiwi, grape, or any other plastic container which already has holes. If holes are too big to retain soil, then place one or more large, round coffee filters in the bottom or sides to cover holes. Excess water will drain out, but soil will stay in.
Moisture
Most seeds need to stay evenly moist until they germinate. If you’re using the starter pellets, then you douse them in warm water and watch them expand. Mine always require more water than the instructions indicate. So, keep adding warm water as long as they are absorbing it and expanding. You will need to carefully pour off any excess water before planting. The peat or other pellet material is unbeatable for retaining moisture for days at a time.
If you’re using seed starting mix, then you also want to pre-hydrate it. It can be a slow process as you repeatedly add additional warm water to it in a container. Like a dry sponge, seed starting mix doesn’t absorb water quickly at the start. Give it some time. If you don’t pre-hydrate, then you will either have too dry a mix and/or float the seeds out of it if you water heavily after planting.
Bottom line: Pre-hydrate and err on the side of extra water. Drain excess water before planting.
You’ll want to check soil moisture daily and add tepid water as needed to maintain even moisture as seeds germinate and grow.
Seed Planting Depth
The seed packet will tell you how deep to plant each seed variety. This can vary from gently pressing the seed into the top of the soil to burying it 1” or more deep. Be sure to pay attention to the packet instructions as some seeds need light to germinate.
An easy way to get the depth right is to mark a wooden skewer, the kind you can buy at the grocery store to make shish kebabs. Put the skewer next to a ruler, mark the recommended depth onto the skewer, then use the skewer to create an opening the correct depth in the soil and large enough to accommodate the seed, press the seed into place, and gently refill the hole with soil.
Heat
Seeds have a minimum temperature for gemination and an ideal one. Most, but not all, prefer a warm and moist environment to get their start. The top of a refrigerator, a warm shelf near a heat register, a gardening heat mat, a vented lid over the container, or other method can improve germination rates.
Here’s what to avoid:
- Cold drafts
- Wildly variable temps
- Very dry, hot air
- Poor circulation/mold
Once the majority of seeds in a container have germinated, remove any lids that block light or airflow. Your seedlings can quickly go from adorable little babies to irritable teens. Make sure you change their environment to meet their developing needs.
Light
Most seeds prefer a warm, dark, moist environment to germinate. A few require light, as indicated by instructions to surface sow the seeds vs. covering with soil. Once your seedlings have sprouted, you want to ensure they have plenty of light.
If you’re using a fluorescent or LED light over your seedlings, keep it lowered to the manufacturer’s recommended distance from the plants, which may be as little as 6” above them. Light that isn’t bright enough or too far from the plants will create “leggy” seedlings that have long weak stems and may not transplant well. If you keep your seed starts near a sunny window, rotate the tray every day or so to prevent them from leaning toward the light.
Action Required
If your seedlings begin to yellow and soil is damp, reduce watering. Long, leaning stems need brighter light closer to the plants. As some seedlings may wither and fail, be sure to remove them so they don’t spread any diseases. Roots growing through seed starter pods or into other ones need to be transplanted.
Thinning
If you plant several seeds in one small container or seed starting pod and they all germinate, you may need to thin or transplant them. Thinning simply means to remove all but one plant from each area. If you planted an item like lettuce or other greens, the plants that you remove are edible…just like the “baby greens” you buy at the grocery store. If you don’t have the heart to cut down the seedlings, then you may attempt to transplant them to other containers or outdoors if the timing is right.
Transplanting
Transplanting can mean replanting your seed starts into bigger indoor containers or out into your planned garden space. Depending on how early you started your seeds indoors, the weather may require you to simply plant them into larger containers indoors.
Clear plastic cups are an easy and affordable way to transplant, and the cups may be washed and reused for years for the same purpose. Use a knife or an awl to make several holes into the bottom of the cup, fill partway with potting mix soil, open a space for the seedling and its roots using a utensil like a spoon, then carefully add soil around the stem and gently press the soil into place to support it. When transplanting delicate seedlings from peat starter pods, carefully remove the outer netting and gently break up the dense peat to expose roots before placing into the new potting mix container.
If your zone’s last frost date has passed, you may be able to plant your seedlings into the ground, raised beds, or outdoor containers. If this is your plan, you’ll want to “harden off” your seedlings first by exposing them to a few hours per day outside and bringing them in overnight. Once they have acclimated to 8 hours a day of outdoor weather, then you can make the final transplanting move.
Coming in March
We will give you a primer on multiple ideas for selecting and preparing outdoor planting areas. Whether you’re going to use an apartment balcony, patio, or backyard, there are endless options for creating a garden space that will provide growing options to fit your lifestyle and available space.
Don’t Miss Out!
To ensure you stay up-to-date with each installment of this year’s garden-along program, subscribe to our monthly newsletter, The Nucleus, and have the latest article right there in your inbox.

